
Eye Candy is the top of photoshop plug-in, you can install after main program. Today i'll show you how to install Eye Candy plug-in.
How to install plug-in
- After double click install file you’ll see welcome screen.
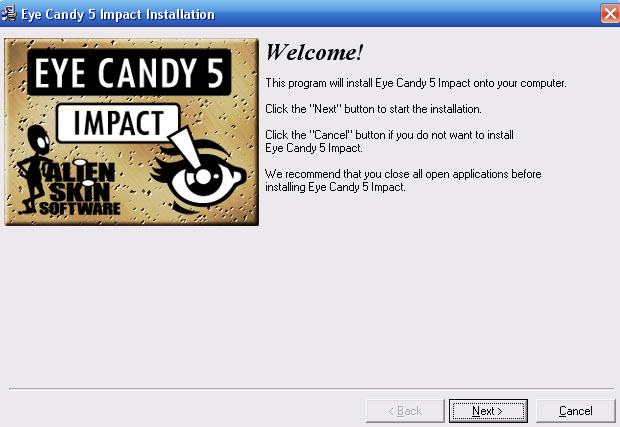
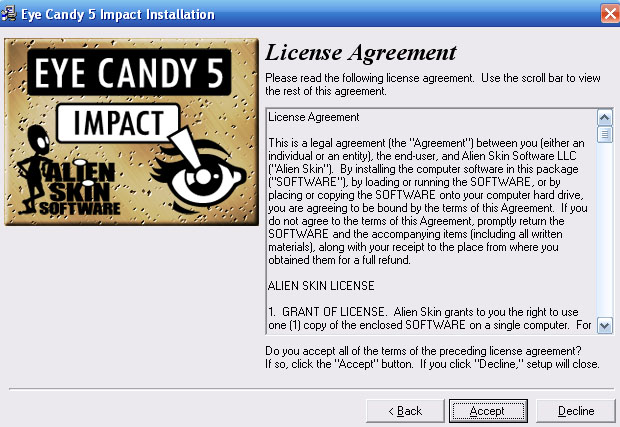
Click Next button. - Read the license agreement and click Accept button.
- Enter the Name and Product Registration Code in fill from.
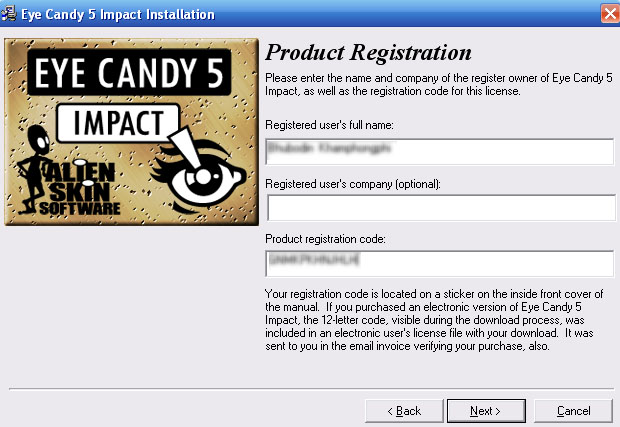
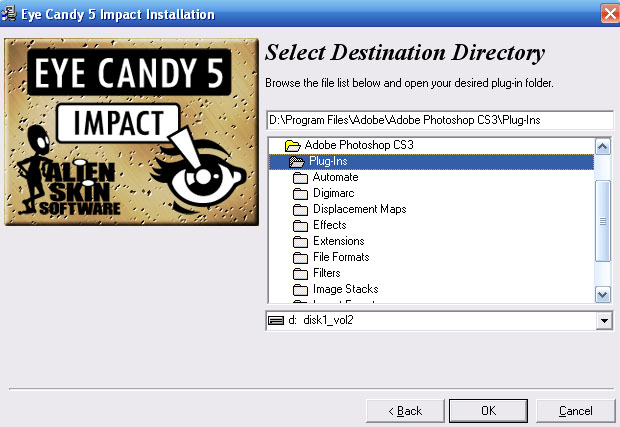
Click Next button. - Browse the file list and open your directory plug-in folder (C:\Program File\Adobe\Adobe Photoshop\Plug-ins). Click OK button.
Waiting for installing.
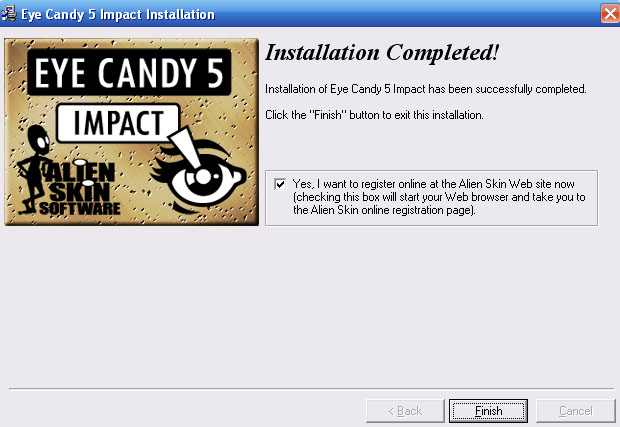
- When installation has been completed. Click the Finish button to exit.
How to use plug-in
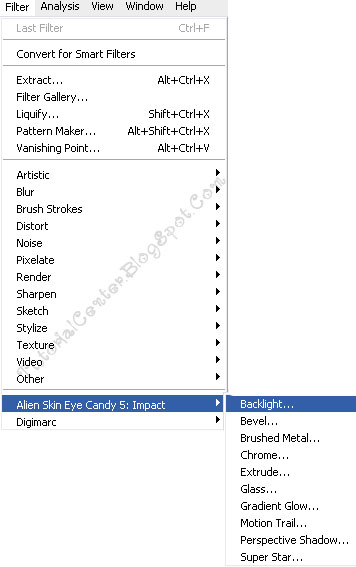
When you want to use Eye Candy Plug-in, you can choose Filter and select Alien Skin Eye Candy from drop-drown menu.
You can download demo Alien Skin Eye Candy from: www.alienskin.com


3 Comments:
For people who still cant see Alien Skin in the filters menu in Photoshop (it didn't show for me), follow the above tutorial and then do the following:
Open photoshop > Edit > Preferences > Plugins & Scratch Discs > Check the "Additional Plugins Folder" from the list > locate your Alien Skin folder (this should be in your photoshop plugins folder) and click ok > you should now see alien skin in your Filters in Photoshop!
I still cant see my filters of eye candy 5. I followed the steps exactly but it wont work Please help
If doesn't work perhaps you should install eyecandy 6
Post a Comment