
You can reduce or enlarge the view of artwork at any magnification level from 3.13% to 6400%. Adobe Illustrator displays the percentage of the artwork's actual size in the title bar, next to the filename, and at the lower-left corner of the document window. Using any of the viewing tools and commands affects only the display of the artwork, not the actual size of the artwork.
Using the view commands
To enlarge or reduce the view of artwork using the View menu, do one of the following:
- Choose View > Zoom In to enlarge the display of the Flowers.ai artwork.
- Choose View > Zoom Out to reduce the view of the Flowers.ai artwork.
Each time you choose a Zoom command, the view of the artwork is resized to the closest zoom preset level. The preset zoom levels appear at the lower left corner of the window in a menu, indicated by a down arrow next to the percentage.
You can also use the View menu to fit the artwork to your screen, or to view it at actual size.
1. Choose View > Fit in Window. A reduced view of the entire document is displayed in the window. A helpful keyboard command for this view is Ctrl+0 (zero) (Windows) or Command+0 (Mac OS).
2. To display artwork at actual size, choose View > Actual Size. The artwork is displayed at 100%. The actual size of your artwork determines how much of it can be viewed on-screen at 100%.
3. Choose View > Fit in Window before continuing to the next section.
Using the Zoom tool
In addition to the View commands, you can use the Zoom tool to magnify and reduce the view of artwork. Use the View menu to select predefined magnification levels or to fit your artwork inside the document window.
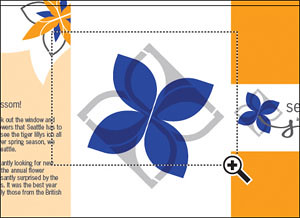
1. Click the Zoom tool in the Tools panel to select the tool, and move the cursor into the document window. Notice that a plus sign (+) appears at the center of the Zoom tool.
2. Position the Zoom tool in the upper-left corner of the blue and orange flower and click once. The artwork is displayed at a higher magnification.
3. Click two more times on the blue and orange flower . The view is increased again, and you'll notice that the area you clicked is magnified. Next you'll reduce the view of the artwork.
4. With the Zoom tool still selected, position the pointer over the blue and orange flower and hold down Alt (Windows) or Option (Mac OS). A minus sign (-) appears at the center of the Zoom tool.
5. With the Alt/Option key still pressed, click the artwork twice. The view of the artwork is reduced.
For a more controlled zoom, you can drag a marquee around a specific area of your artwork. This magnifies just the selected area.
6. With the Zoom tool still selected, hold down the mouse button and drag over the area of the illustration you want to magnify; watch as a marquee appears around the area you are dragging, then release the mouse button. The area that was included in the marqueed area is now enlarged to fit the size of the document window.
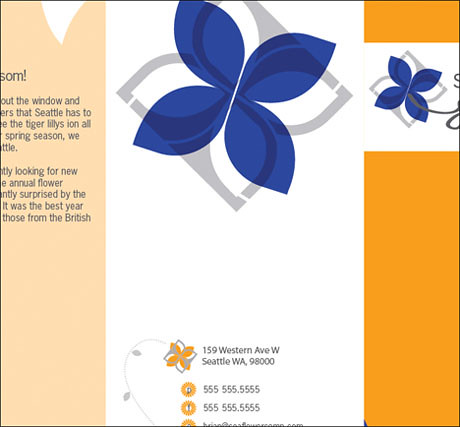
7. Choose View > Fit in Window before proceeding. Drag a marquee around the large blue flower in the center of the document window.
The percentage at which the area is magnified is determined by the size of the marquee you draw with the Zoom tool—the smaller the marquee, the higher the level of magnification.
Area selected with marquee.
Resulting view.

You can also use the Zoom tool to return to a 100% view of your artwork, regardless of the current magnification level.
8. Double-click the Zoom tool in the Tools panel to return to a 100% view.
Because the Zoom tool is used frequently during the editing process to enlarge and reduce the view of artwork, you can select it from the keyboard at any time without deselecting any other tool you may be using.
9. Before selecting the Zoom tool from the keyboard, select any other tool in the Tools panel and move the cursor into the document window.
10. Now hold down Ctrl+spacebar (Windows) or Command+spacebar (Mac OS) to use the Zoom tool without actually choosing that tool. Click or drag to zoom in on any area of the artwork, and then release the keys.
11. To zoom out using the keyboard, hold down Ctrl+Alt+spacebar (Windows) or Command+Option+spacebar (Mac OS). Click the desired area to reduce the view of the artwork, and then release the keys.
12. Double-click the Zoom tool in the Tools panel to return to a 100% view of your artwork.
Scrolling through a document
You use the Hand tool to scroll to different areas of a document. Using the Hand tool allows you to push the document around much like you would a piece of paper on your desk.
1. Click the Hand tool in the Tools panel.
2. Drag downward in the document window. As you drag, the artwork moves with the hand.
As with the Zoom tool, you can select the Hand tool with a keyboard shortcut without deselecting the active tool.
3. Click any other tool except the Type tool in the Tools panel and move the pointer into the document window.
4. Hold down the spacebar to select the Hand tool from the keyboard, and then drag to bring the artwork back into view.
You can also use the Hand tool as a shortcut to fit all the artwork in the window.
5. Double-click the Hand tool to fit the document in the window.
Using the Navigator panel
The Navigator panel lets you scroll through a document. This is useful when you need to see the entire illustration in one window and edit it in a zoomed-in view.
1. Choose Window > Navigator to open the Navigator panel. It will be floating in the workspace.
2. In the Navigator panel, drag the slider to the right to approximately 200% to magnify the view of the document. As you drag the slider to increase the level of magnification, the red outline in the Navigator window becomes smaller, showing the area of the document that is being magnified.
Drag the slider to 150%.
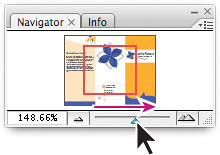
150% view of image.
3. Position the pointer inside the Navigator window. The pointer becomes a hand.
4. Drag the hand in the Proxy Preview Area (the red box) of the Navigator panel to scroll to different parts of the artwork.
Drag the zoom window.
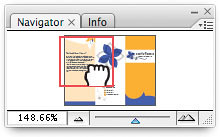
View of image after dragging.

5. With the pointer (hand) still positioned in the Navigator panel, hold down on the Ctrl (Windows) or Command (Mac OS) key. When the hand changes to a magnifier, drag a marquee over an area of the artwork. The smaller the marquee you draw, the greater the magnification level in the document window.
6. Close the Navigator panel.
Using Illustrator Help
For complete information about using panels and tools, you can use Illustrator Help. Illustrator Help includes keyboard shortcuts and additional information.
Illustrator Help is easy to use because you can look for topics in these different ways:
- Scanning a table of contents.
- Searching for keywords or phrases.
- Using an index.
- Jumping from topic to topic using related topic links.
Displaying the Help contents
First you'll look for a topic using the Contents screen.
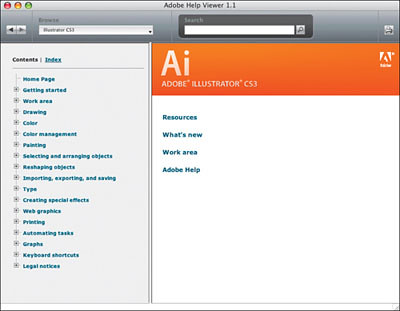
1. To display the Help Contents menu, choose Help > Illustrator Help, or press F1.
2. Drag the scroll bar, or click the arrows, to navigate through the contents. The contents are organized in a hierarchy of topics, much like the chapters of a book.
Illustrator Help Contents screen.
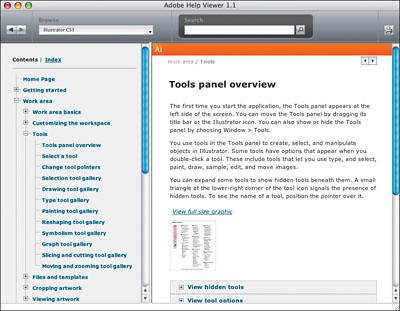
3. If the Contents link on the left is not selected, click it, and click the plus sign to the left of Work area. The plus + turns into a minus -, revealing topics to the Adobe Illustrator CS3 work area.
4. Click the plus sign to the left of Tools. A sub-menu appears.
5. Locate the topic "Tools panel overview" and click to display it. An illustration of the Tools panel appears along with its tool tip.
Using keywords, links, and the index
If you can't find the topic you want to review by viewing the Contents page, you can try using Search. You can search using keywords or phrases.
1. In the Search field at the top of the Help Viewer, type Brushes. Click the Search button to go to that topic. A list appears of the items containing information about brushes.
2. Click "Create or modify brushes" to learn about creating brushes. Notice, under Related Information, that there are several subtopics available for further research.
3. Click Create a brush to read about creating different kinds of brushes.
Locating a topic using the index
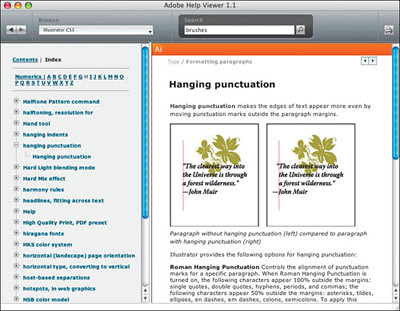
1. Click the Index tab in the left column to go to an alphabetical listing of topics. You will see an alphabet.
2. Click the letter H to get a listing of all the topics starting with H.
3. Click "hanging punctuation" to reveal a hanging punctuation sub category. Click the subtopic "hanging punctuation" to see how to create this text formatting attribute.
Click Index for alphabet, then click a letter for topics.
4. When you are finished investigating Illustrator Help, close the window and return to the document window.


0 Comments:
Post a Comment