
Continue to come from last. Will do a picture for decorate shape this time. Start!!
1. Create a new 400 X 400 pixels document.
2. Set Foreground Color is Red and Background Color is White.
3. Choose Filter > Render > Clouds
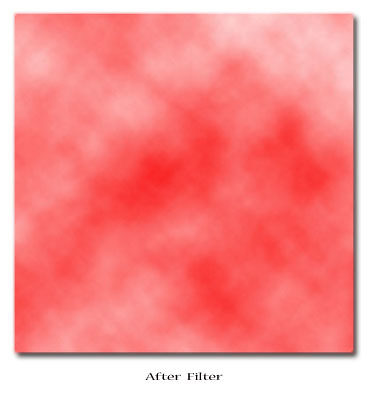
4. Choose Image > Adjustment > Brightness/Contrast
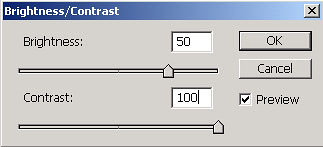
Fix Brightness = 50, Contrast = 100

5. Create a new Layer and follow the 3-4 step again. After Finnish this step you will change Layer Blending Mode of the top layer to Multiply
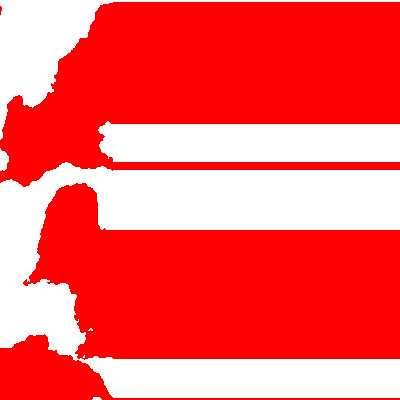
6. Press Ctrl + E on your keybroad For total up layer.
7. Choose Single Column Marquee Tool and click on your picture for make selection with 1 pixels.

8. Press Ctrl + C and Ctrl + V for Copy and Paste on new layer.
9. Press Ctrl + T for Make Transform and drag mouse for enlarge the area.
10. Choose Filter > Distort > Polar Coordinates
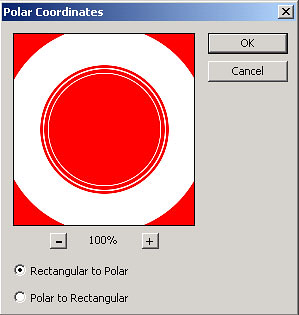
Select Rectangular to Polar It will be this time use Retro Dots for decorate shape at us has done to go while first. Be a loud example.


1 Comments:
According to me Retro dots allow you to create dot grids in your images on the smooth selection. Using this tool also configure the color. So it is very helpful tool for edit image.
Post a Comment