
You can create messy text using the Displace filter. This technique enables you to incorporate text into the texture for the image.

1. Creating an Image with Lines
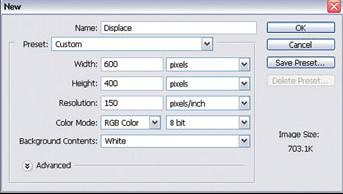
Choose File > New (Ctrl+N) from the menu bar to open the New dialog box. Set the Width to 600 pixels and the Height to 400 pixels. Also, set the Resolution to 150 pixels/inch, and then click on OK.
Choose the Brush Tool from the toolbox, and click on the Click to Open the Brush Preset Picker button on the Options bar.
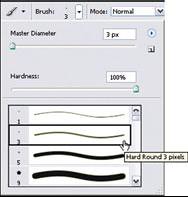
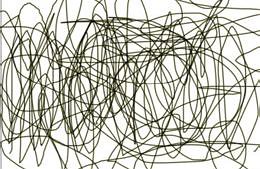
Choose the Hard Round 3 Pixels brush, and press Enter to close the Brush Preset Picker. Set the foreground color to black, and draw vertical and horizontal lines as shown here.
2. Saving the File for Use as a Displace Map
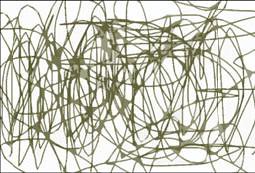
Choose Filter > Artistic > Cutout from the menu bar to open the Cutout dialog box. Change the Number of Levels and Edge Simplicity settings as shown here, and then click on OK.
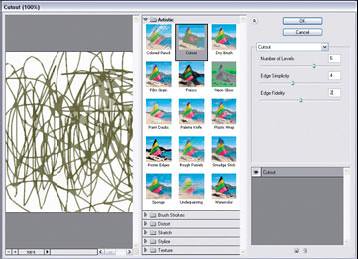
Gray surfaces will enhance the pattern of lines, as shown here.
Choose File > Save (Ctrl+S) from the menu bar, and save the image as a Photoshop (*.psd) file, You will use this image as a displace map source file.


0 Comments:
Post a Comment