
15. Stretching the Noise Texture
Using the Rectangular Marquee Tool, select a vertical rectangle in the image. Choose Edit > Free Transform (Ctrl+T), drag the left and right handles that appear on the selection to stretch the selection horizontally to fill the layer, and then press Enter. Choose Select > Deselect (Ctrl+D) to remove the selection marquee.
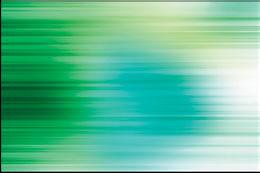
16. Lightening the Noise Effect
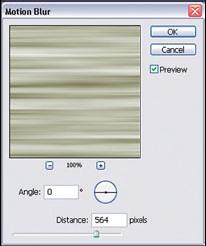
With Layer 3 still selected, choose Filter > Blur > Motion Blur from the menu bar. In the Motion Blur dialog box, set the Angle to 0 and the Distance to 564, and then click on OK.
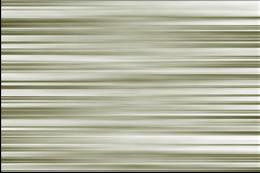
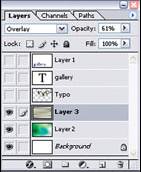
Then, click on the Add a Layer Style button on the Layers Palette and click on Blending Options. Choose Overlay from the Blend Mode drop-down list and set the Opacity to 61%. Click on OK. This will blend the horizontal stripes of light to the background image.
17. Completing the Image
In the Layers Palette, drag the gallery text layer onto the Delete Layer button to delete the layer from the image.
Click on the box for the Layer Visibility icon beside each of the hidden layers to redisplay it.
Click on the Layer 1 layer to select it, and then choose Layer > New > Layer via Copy (Ctrl+J). Click on the Layer 1 copy layer in the Layers Palette.
Use the Move Tool to move the layer content, and use the Edit > Free Transform command to reduce its size. Also, use the Opacity setting on the Layers Palette to make the text copy more transparent to complete the image.

Finnish!!


0 Comments:
Post a Comment