
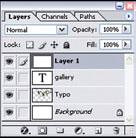
6. Adding a Text-Shaped Selection to a New Layer
Click on the Create a New Layer button (Shift+Ctrl+N) in the Layers Palette to add a new layer named Layer 1 above the text layer (the gallery layer) you just created. Set the foreground color to white and press Alt+Del to fill the new layer with white.
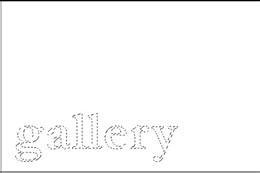
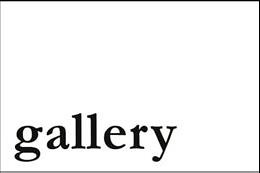
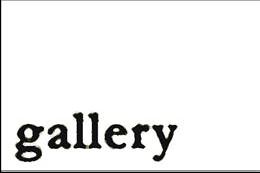
Hold down the Ctrl key and click on the gallery layer in the Layers Palette to add a selection marquee in the shape of the letters. Set the foreground color to black, and then press Alt+Del to color the text black. Choose Select > Deselect (Ctrl+D) to remove the selection marquee.
7. Blurring the Text
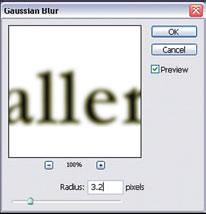
Choose Filter > Blur > Gaussian Blur from the menu bar to open the Gaussian Blur dialog box. Change the Radius setting to approximately 3.2, and then
click on OK.
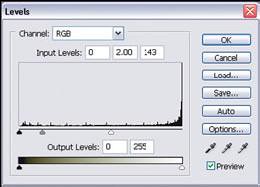
Choose Image > Adjustments > Levels to open the Levels dialog box. Drag the center and rightmost Input Levels sliders to the settings shown here, and then click on OK. These settings will combine to blur and thin the letters.

8. Texturing the Text
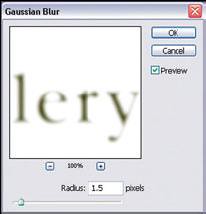
With the Layer 1 layer still selected in the Layers Palette, choose Filter > Blur > Gaussian Blur from the menu bar. Reduce the Radius to 1.5, and then click on OK.
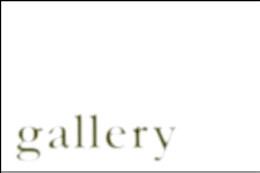
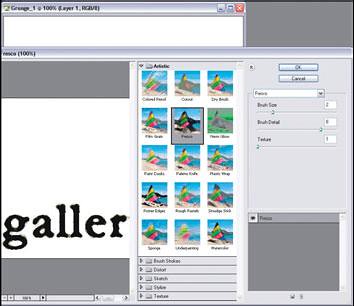
Choose Filter > Artistic > Fresco, and then choose the settings shown here in the Fresco dialog box. Click on OK to finish roughing or texturing the edges of the letters.


0 Comments:
Post a Comment